Hello peeps!! I hope you are enjoying these previews. If you didn't have a chance to see,
Betsy and
Nichole showcased Holiday Sparkle yesterday. I always love seeing what others do with the stamp sets I create. If you ever create something with one of my stamp sets PLEASE link me up. I try my best to peruse the web but I certainly can't make it to every blog out there.
So here we are on day two and there is more sparkle in sight... I have always been fond of reindeer so it was only a matter of time before I created one that could be used for my holiday cards. The reindeer has no nose or eyes so you can add them by stamping circles, adding rhinestones or pearls or even drawing them.
INSTRUCTIONS
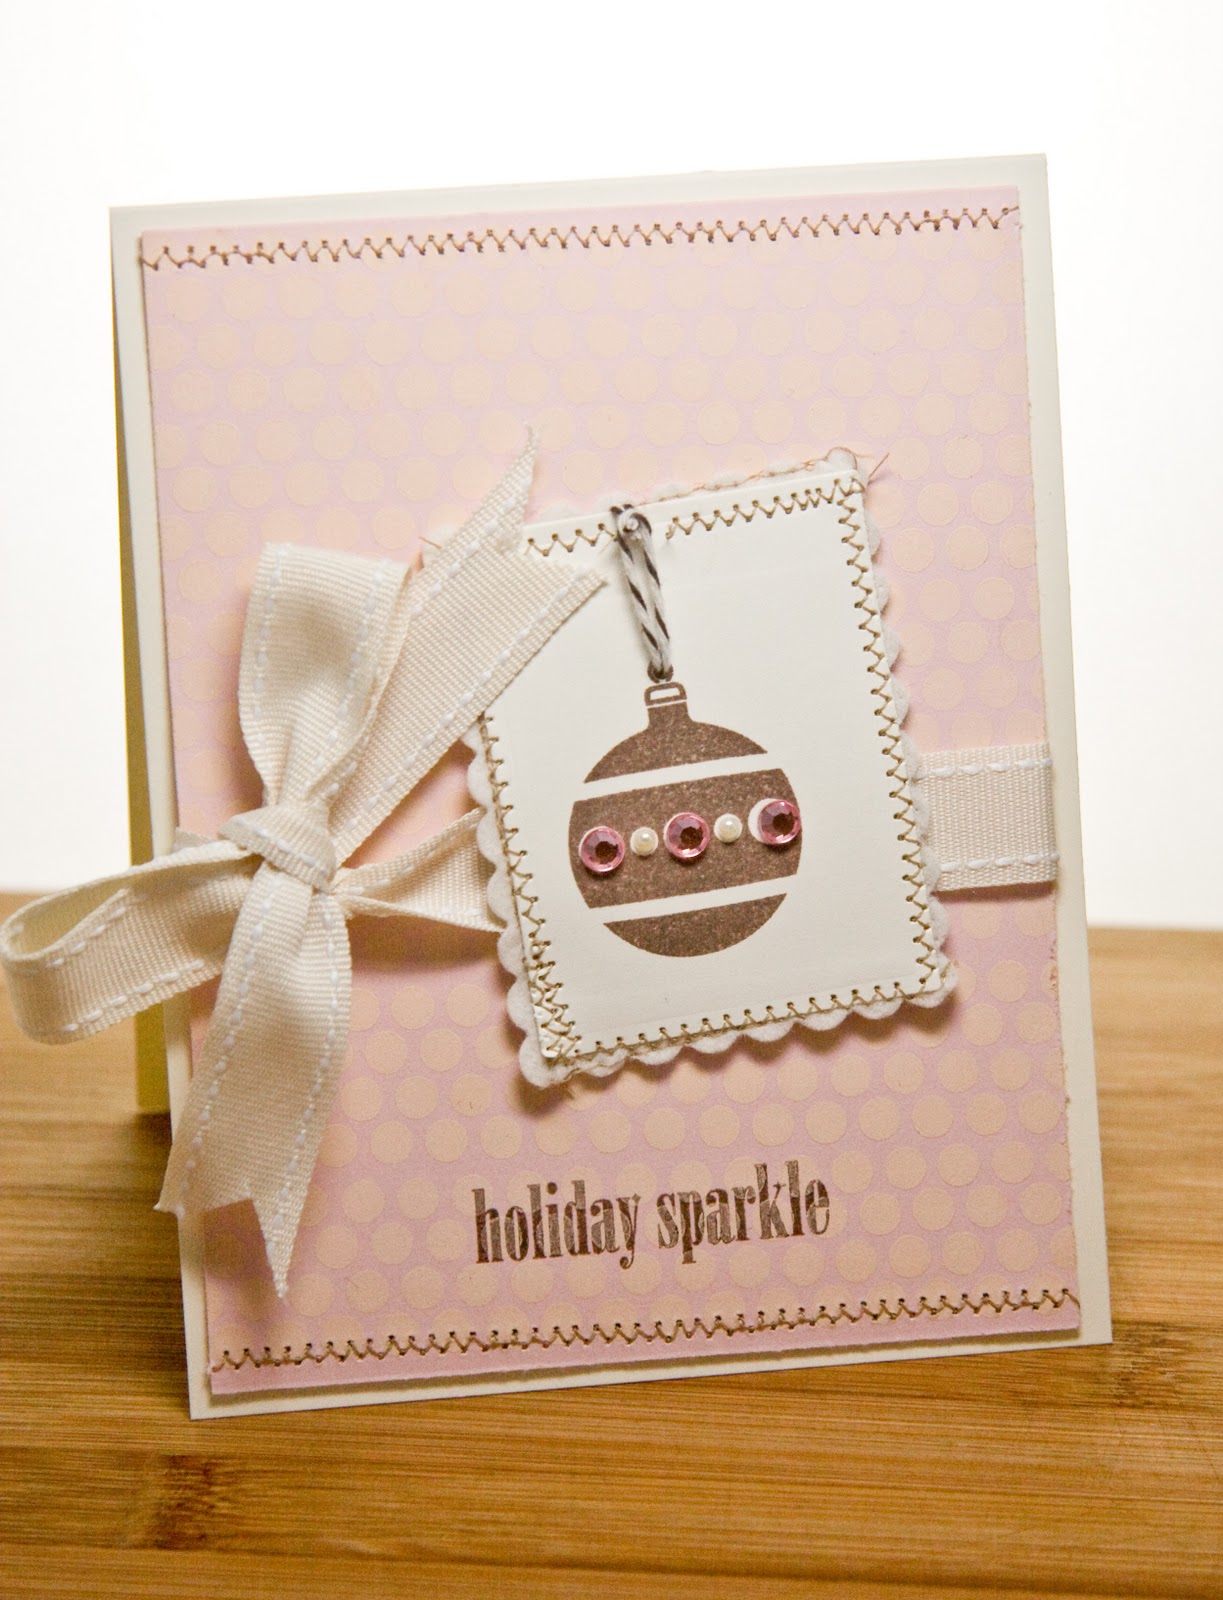
CARD #1
- Create card base and impress using die.
- Cut layers and punch scallop edge.
- Stamp image. Colour and outline image. Stamp sentiment.
- Apply rhinestone.
- Attach ribbon
- Adhere all layers
SUPPLIES
Stamp Set(s): Holiday Sparkle by PTI available October 15th,
Cardstock: Stamper's Select White by PTI, Spring Moss by PTI, Dark Chocolate by PTI, Pure Poppy by PTI
Ink: True Black by PTI, Dark Chocolate by PTI
Accent: Red Rhinestone, Ribbon by PTI
Tools: Picnic Plaid impression plate by PTI, Copic Markers: E00, E39, E59, W2, O
For the second card I decided to make an extra sparkly card! Yup. That is what I LOVE about this snowflake because you can make it sparkle to the max.
INSTRUCTIONS
CARD #2
- Create card base and impress using die.
- Cut layers and felt.
- Stamp image and sentiment.
- Apply rhinestones.
- Attach ribbon.
- Adhere all layers
SUPPLIES
Stamp Set(s): Holiday Sparkle by PTI available October 15th,
Cardstock: Stamper's Select White by PTI, Spring Moss by PTI, Dark Chocolate by PTI, Pure Poppy by PTI
Ink: True Black by PTI, Dark Chocolate by PTI
Accent: Clear Rhinestones, True Black Felt by PTI, Ribbon by PTI
Tools: Polka Dot Basics 2 impression plate by PTI, Copic Marker: BG49 (to colour rhinestones)
Thanks again for stopping by! I've said it before but I mean it...you truly are my inspiration. Don't forget to leave me a comment today so I know you have been here! I'll see you back for day 3 of Holiday Sparkle previews.
Have a wonderful start of the week!! And Happy Turkey (aka Thanksgiving) to all my Canadian visitors!!
Alli